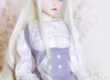


The subject of this experiment, with default eyes
Imagine this- your dream doll has finally arrived! After all the seeking, saving and scheming she’s home and it’s time have fun. You can change her outfit, shoes, and even wig, but the eyes? Well, Volks has helpfully secured them with hot glue so that’s a bit trickier. But not to despair! Changing the eyes and removing the hot glue is pretty easy with this trick I’ll show you. This demo will feature my new DDH-11 girl, just recently arrived.
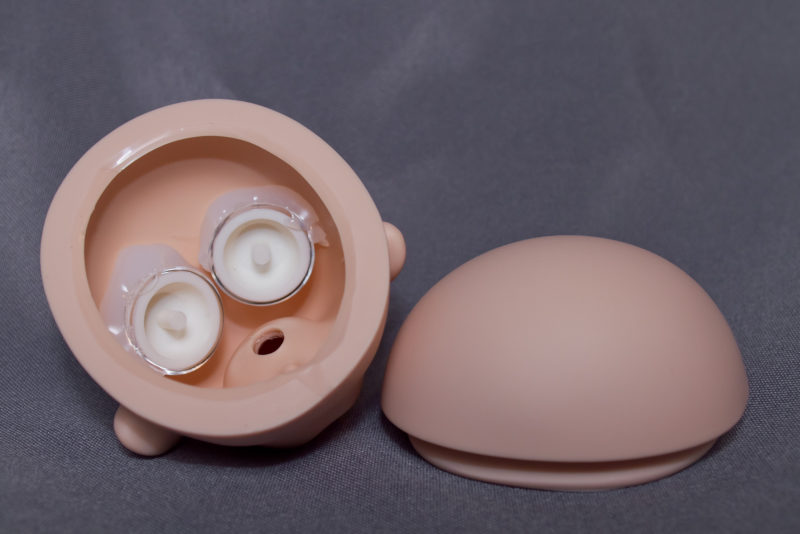
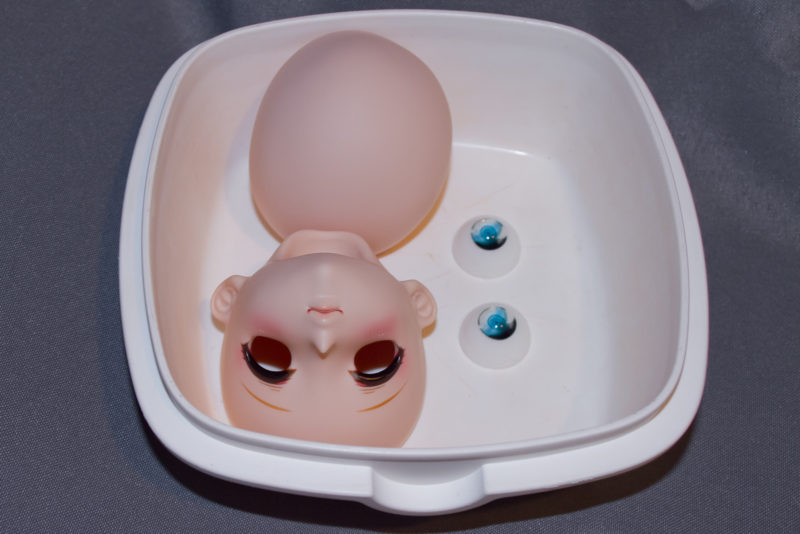
The dreaded hot glued eyes
Here’s what we’re dealing with: hot glue applied inside the head, around the acrylic eyes. Other doll companies use putty or clay to secure the eyes, which is no problem to get rid of. This plastic glue is tougher but fortunately Dollfie Dream heads are flexible so we’ll take advantage of that to loosen the glue. In this case there’s not much glue so it looks like an easy job.
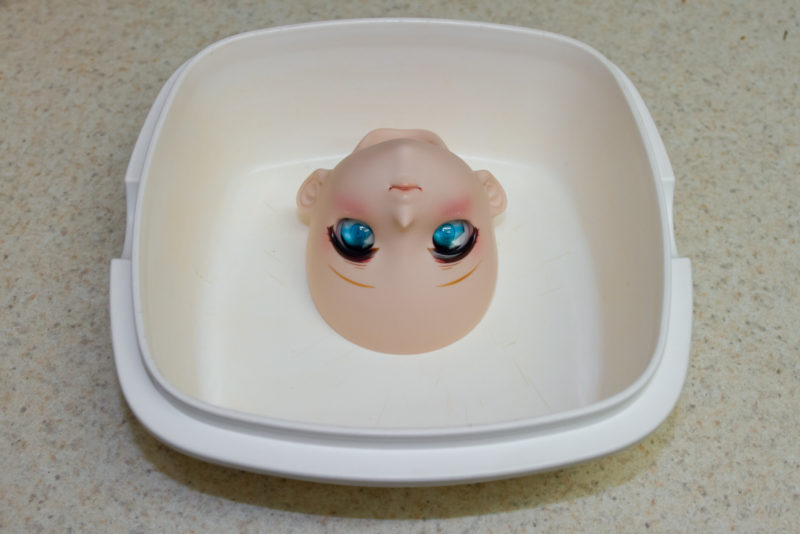
Ready for a trip to the freezer
For this trick, my girl is making a trip to the freezer! I recommend using cold to make the glue firm rather than applying heat which just turns it gooey. And some folks prefer to use solvent to dissolve glue, but I find that risks damaging the faceup. The cold method seems the most reliable in my experience, hence the freezer expedition. The lower portion of the head is going to get frozen, placed in a clean tray for safety and ease of transport.

Hanging out in the freezer for five minutes
Now my DDH-11 girl will hang out with frozen french fries and blueberries for 5 minutes. That’s usually enough time to put a chill on the hot glue that makes it firm and brittle enough to get out.
Once we’re out of the freezer, it’s time to carefully get the hot glue loose. Gently squeeze the sides of the head, then the front/back of the head, just enough to shift the edges of the glue. Don’t overdo it- a head that’s too cold could be brittle and risk cracking. Instead, if the glue doesn’t start to pop loose after 3-4 squeezes, let the head warm up and then re-do the freeze process again. Sometimes it’ll take a couple tries but it’s better to be safe than sorry. Usually once you hear some pops from the glue, it’s loose enough that you can pry it away with your hands. If the glue doesn’t just fall off the eyes easily, you can repeat the freeze process for only the eyes/glue to try and get them loose.
Chilling out after eye removal
After coming out of the freezer, there’s usually some condensation on the head. I give her some time to warm up and dry off after the eyes are removed.
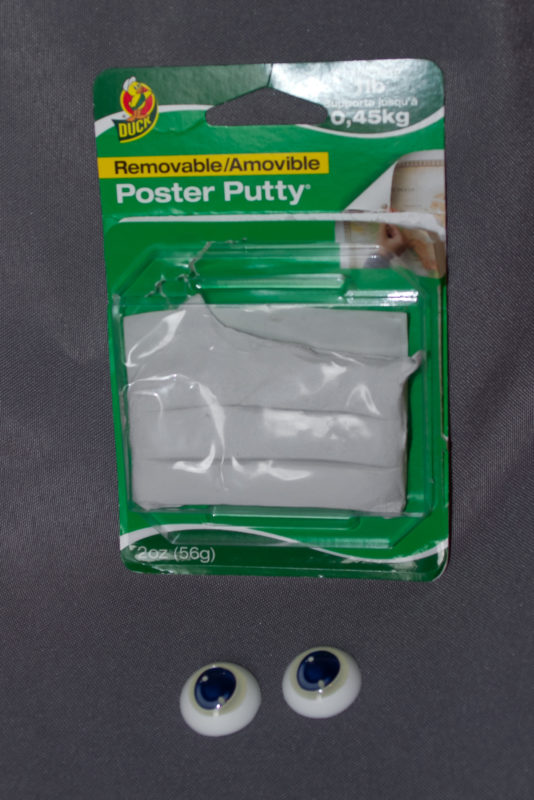
Most poster putty works fine- including this one.
Meanwhile I can prepare some replacement eyes! These homemade urethane eyes will do. I’m going to secure them using off-white poster putty- it’s a lot easier to apply and remove than the hot glue. Also I prefer the white to the blue putty since I don’t have to worry about staining or weird colors showing up around/behind smaller eyes.
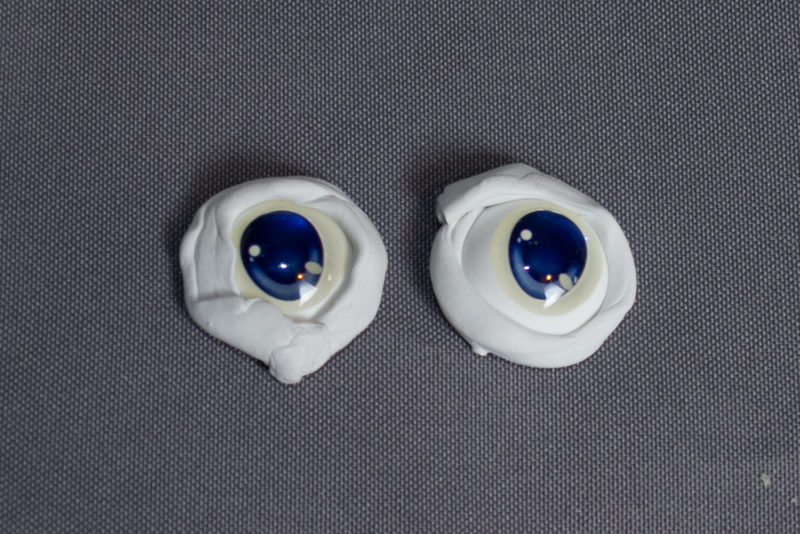
A small roll of putty is applied around the perimeter of the eyes. You want enough to secure them to the eye wells without getting in the way of the fit.
After poking the puttied eyes into place, I can adjust them with some gentle pushes from the inside, checking occasionally for correct fit from the front.

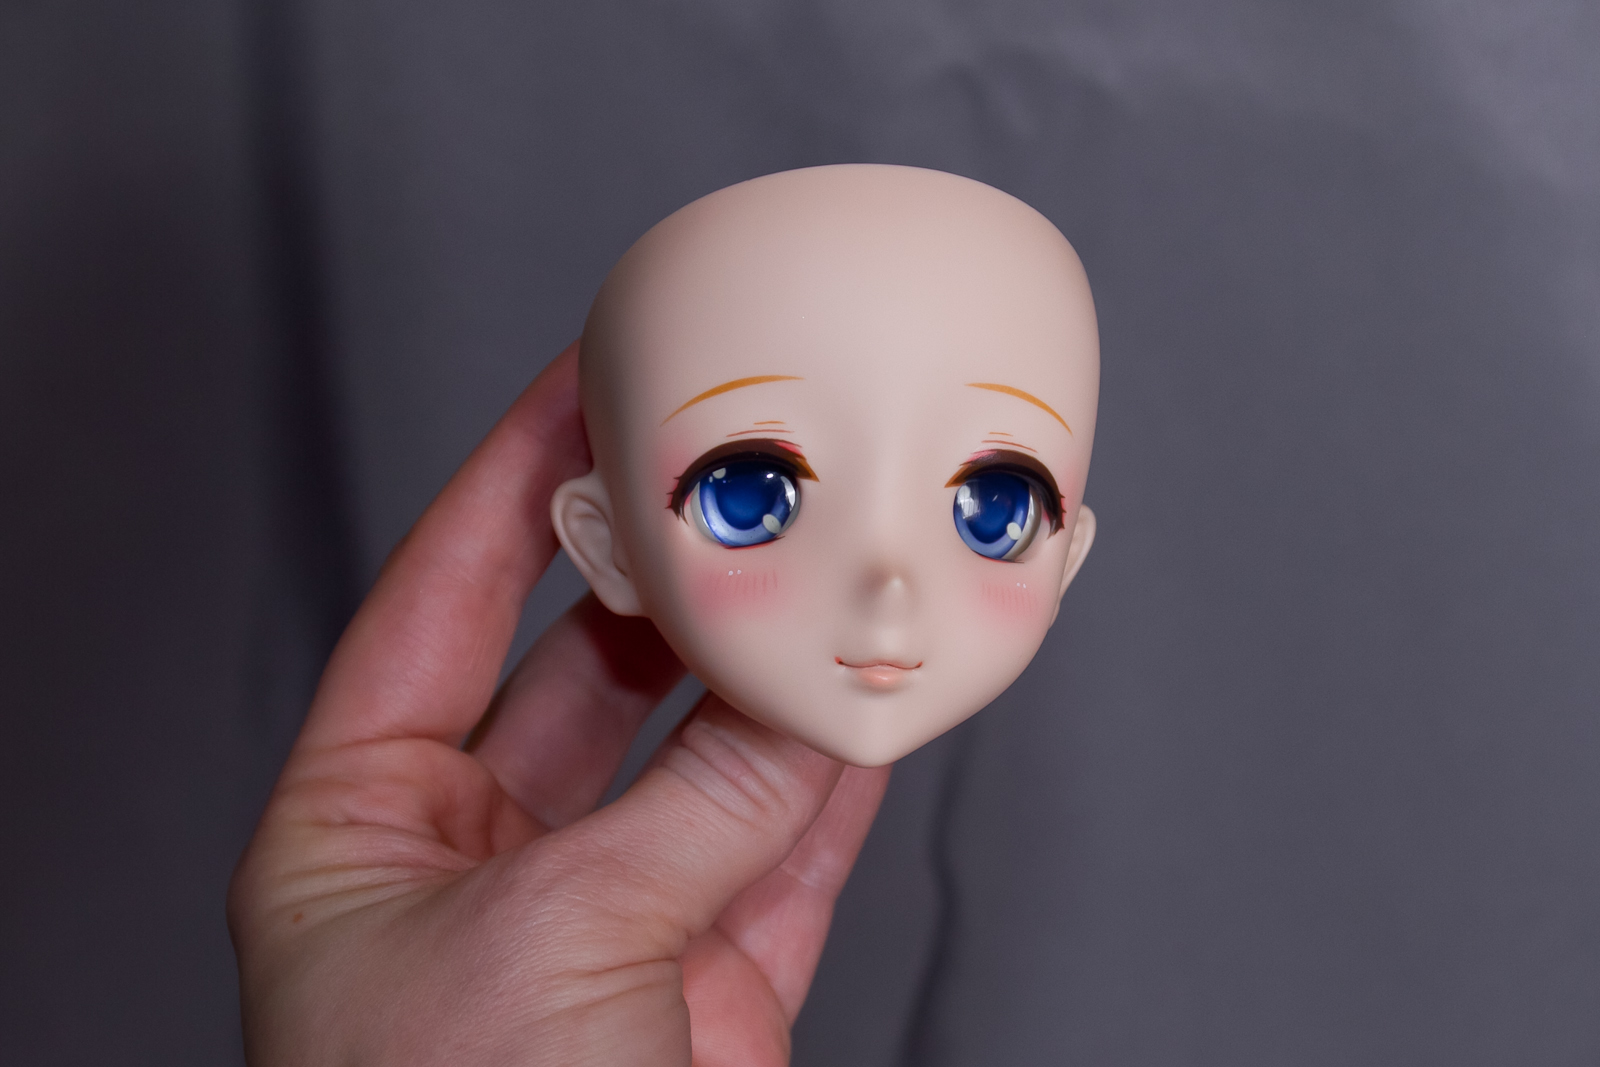
Voila! New eyes are secured, and can get swapped any time for another pair or even back to the original acrylic eyes.