

You may have already seen my guide for making resin eyes, but lately I’ve been working on refining the technique. The process is more involved, but the results are more polished. So let’s just call this the “Advanced Guide to Making Resin Eyes.”
For the new eyes, I created a new set of molds using Volks and CoolCat 22mm animetic eyes. I just happened to have a lot of them around, but the shape is generic so any 22mm hemisphere will work. The process for making the mold is the same as detailed in my previous guide, so I’ll skip ahead to casting resin.
Materials needed:
Easy Cast Clear Casting Epoxy
Environmental Technology 16-Ounce Kit Casting’ Craft Casting Epoxy, Clear
Smooth-On Smooth Cast 300
Smooth-On Smooth-Cast 300 Liquid Plastic Compound Smooth-Cast 300
Small plastic measuring cups (look for medicine measuring cups)
Small plastic pipettes
Plastic utensils for stirring
Latex or rubber gloves
Printed eye designs
Silicone rubber eye molds
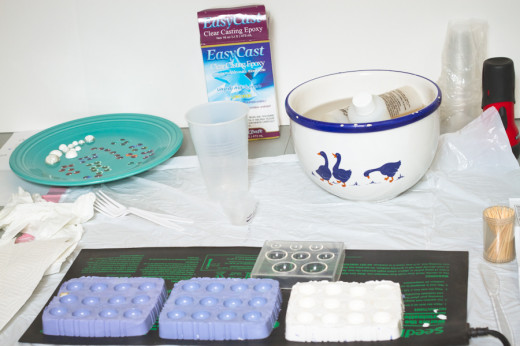
Before proceeding, I make sure I’ve got my work area set up with all my tools and plenty of paper towels in reach. My EasyCast clear resin sits in a warm water bath, around 90 F, until it’s warm to the touch. I’ve got a seedling starter hot pad under the eye molds, more on that later.
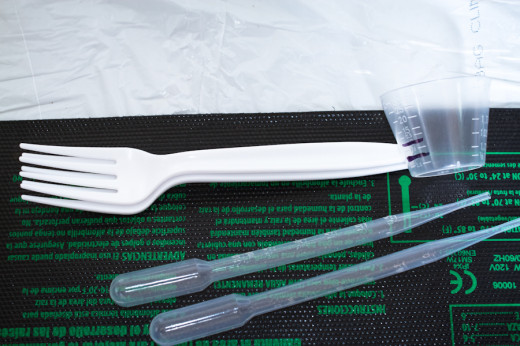
Here you can see my disposable pipettes (1 extra for backup), disposable measuring cup, and high-tech stirring device (plastic forks). Following the clear resin instructions, I measure out about 10cc total and mix it carefully. That means slowly swirling it around with the fork handle, trying to avoid making more bubbles. After the components are well mixed, I pour them into a new container, grab a fresh fork, and mix them for another 2 minutes.
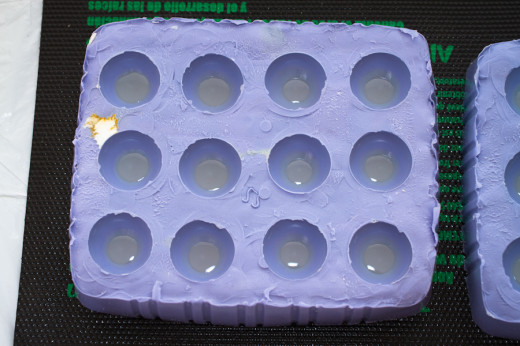
Then, using the pipette I add a small drop of resin to each of my eyes in the mold. At this point, I turn on my hot pad (underneath the mold) to keep the ambient temperature around 80F. This seems to reduce bubbles in the clear resin, and helps with setting. If you notice any bubbles in your eyes, use a long barbecue lighter to burn them off. Any deeper bubbles can be carefully teased out with a toothpick. Work fast, because the resin becomes viscous in about an hour. At this point, the resin needs to set for 18-24 hours, so I carefully cover my molds to keep any lint/dust from landing in them.
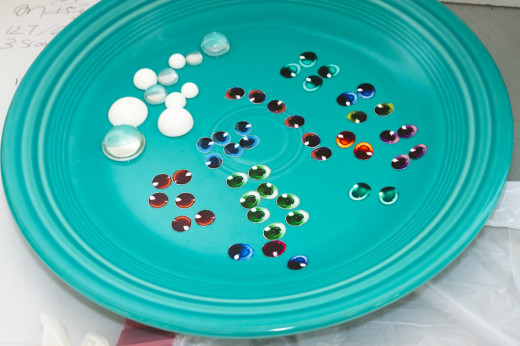
Day 2! Time to add the pupils. I cut out a bunch of eye designs, these were printed at my local copy shop (nothing fancy).
I mixed another batch of clear resin, about half as much as I made the last time. Using the pipette, I add a tiny blob of resin to each eye, then press an eye printout into the resin. I add another glob of resin on the back of the eye design, making sure the paper is completely covered in resin. Using a toothpick I can nudge the eye designs if they get off center. Then it’s time to wait at least one more day.
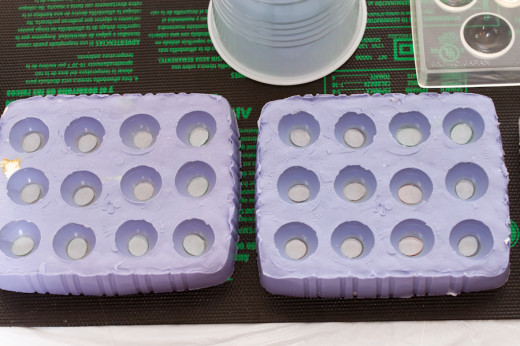
Day 3! Almost done. When my clear resin is hard to the touch, it’s time to pour the white resin. I’m using Smooth-On Smooth Cast 300, it’s pretty easy to work with. It mixes clear, but turns white as it hardens, usually in a few minutes. It’s best to work in small batches with this stuff as it can easily set before you can pour it! I just add white resin to each eye mold until it’s nearly full.

A few minutes later, eyes are ready to de-mold! They’re ready to use at this point, though for extra durability and even surface gloss you can add another layer of clear resin or gloss sealant on top.
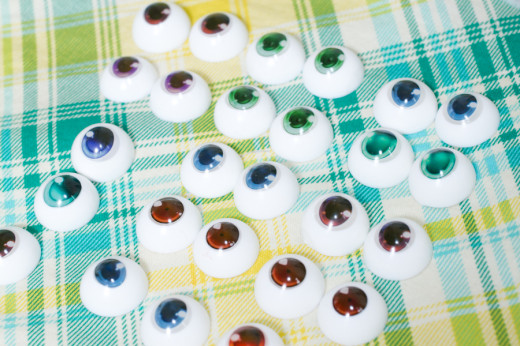
Voila, cute custom eyes!